Posted On: Apr 28, 2020
A Step by Step Guide to Apply Silicone Sealant
The task of applying silicone can be super easy if you have the right technique and tools. In this step by step guide we will show you the best method to produce a clean and neat finish.
Before we start, what is silicone? Silicone is malleable material that turns rubbery when cured. It is one hundred percent waterproof and comes in many colours and grades. It’s very important to choose a bathroom rated, anti-mould silicone for the job at hand.
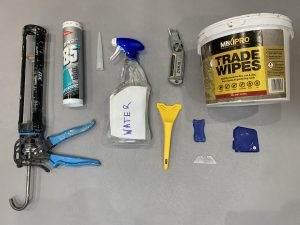
The tools and materials you will need are listed below and can be purchased at most DIY or trade shops, for example; Screw-Fix, B&Q and Tool Station.
-
Sealant – White
-
Sealant gun
-
Sealant tool
-
Water spray
-
Utility knife and separate blade
-
Window Scraper
-
Universal trade wipes
Step One
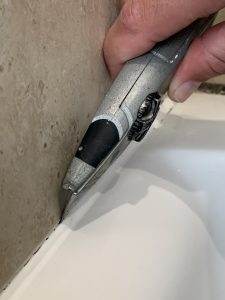
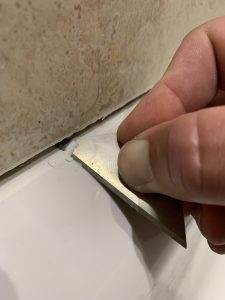
Remove the old silicone with a sharp utility knife by scoring the top and bottom of the existing silicone strip. This will remove the bulk. Use the bare blade or a window scraper to clean the tiles and bath. Make sure all of the silicone is removed otherwise the new sealant will not stick. If the exposed joint is wet allow to dry before proceeding.
Step Two
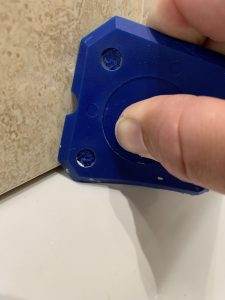
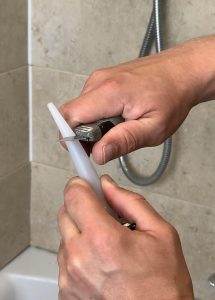
Place the sealant tool against the wall, adjacent to the bare joint that needs filling. The sealant tool is a way to measure the size of the gap that needs filling. This will be signified by a number on the sealant tool (the most common being 6 and 8). You may need to rotate the tool until there is a match in size between the circle on the tool which corresponds to the gap size.
Step Three
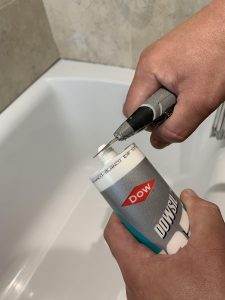
For safety, facing away from the body, cut the top of the sealant tube with a sharp utility knife . Screw the nozzle and cut at an angle slightly larger than the joint. Fit into the silicone gun.
Step Four
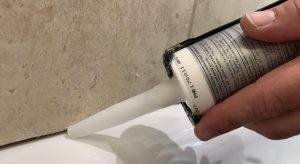
Apply the sealant with the gun using the nozzle angle for a guide against the wall. Always do the entire length
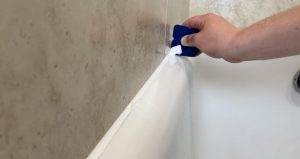
Step five
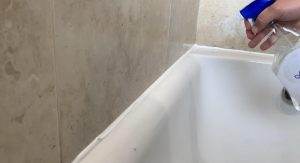
Spray the sealant with water (this stops any excess sticking to the tiles and bath). With the tool (make sure it is on the correct number) guide along the bath removing some sealant leaving a neat bead. Apply this method to the entire length, when the tool gets full clear with wipes. There might be indents where the grout is, spray with water and lightly glide you finger over to blend. Clean hands with wipes (check packaging to ensure they are suitable)
https://www.youtube.com/watch?v=GTNkOfJ0gZ4&t=2s
Allow to cure for 24 hours
The average cost to replace old silicon around the bath is £89 + Vat